Write Image to ThingSpeak from ESP32 Camera Board
This example shows how to capture an image from an ESP32 camera board and write it to a ThingsSpeak® image channel.
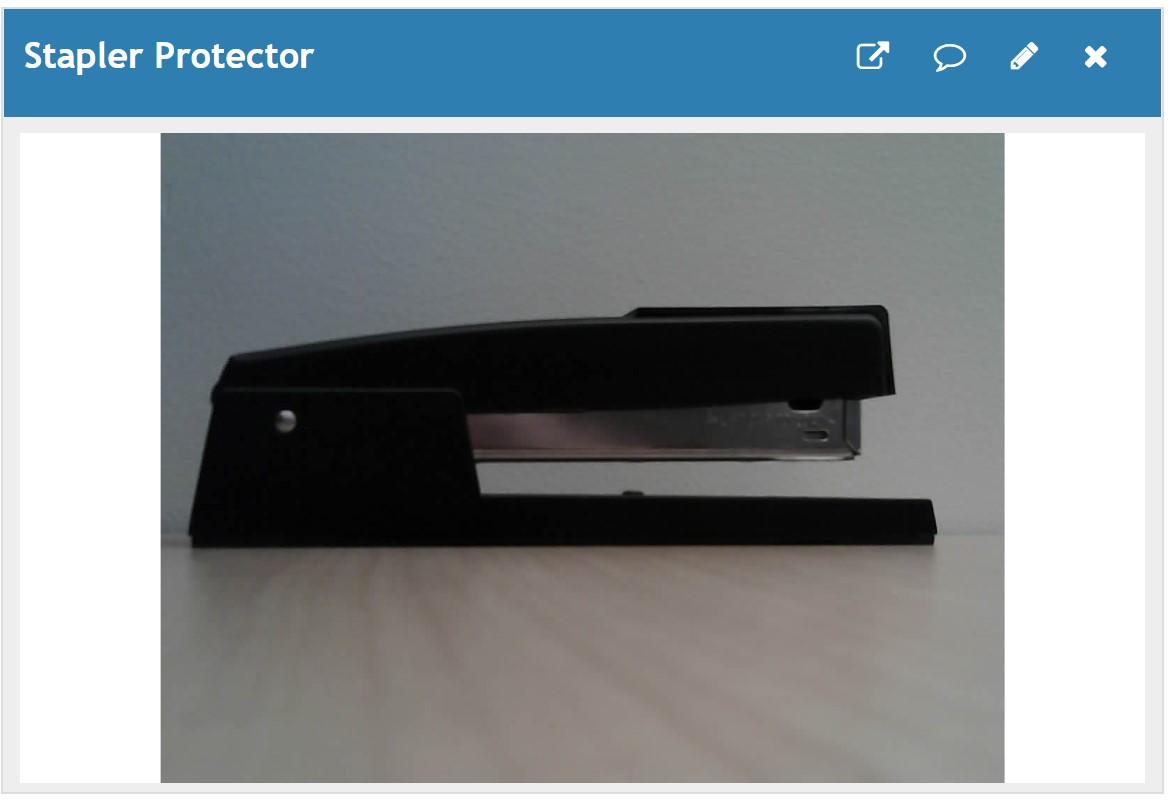
This example uses an ESP32 camera board that is compatible with the A.I.Thinker board. Other types can be used by adjusting the defined pins. The example Prototyping with Sonar Proximity Sensor shows you how to use a proximity sensor to keep your stapler safe. In this example, you can preserve an image of your stapler to help deter and capture potential thieves.
Setup
1) Create a new ThingSpeak image channel as described in Create an Image Channel.
2) Create a new ThingSpeak data channel as described in Collect Data in a New Channel.
3) Add an Image Display widget to the view of your data channel, as described in Image Display.
Program the ESP32
Use the Arduino IDE to create an application for your device.
1) Connect the ESP32 to your computer using a micro-USB cable, and wait for it to connect successfully.

2) In the Arduino IDE select the ESP32 Dev Module board and the correct COM port.
3) Create the application. Open a new window in the Arduino IDE and save the file. Add the code provided in the Code section. Edit the wireless network SSID, password, and the write API key for your image channel.
Code
1) Include the necessary libraries and define connection parameters. Be sure to edits the wi-fi and image channel parameters to match your setup.
#include "esp_camera.h"
#include <WiFiClientSecure.h>

#define PWDN     32
#define RESET    -1
#define XCLK      0
#define SIOD     26
#define SIOC     27
#define Y9       35
#define Y8       34
#define Y7       39
#define Y6       36
#define Y5       21
#define Y4       19
#define Y3       18
#define Y2        5
#define VSYNC    25
#define HREF     23
#define PCLK     22
// Network information.
#define WIFI_SSID "WIFI_NAME"
#define WIFI_PASSWORD "YOUR_WIFI_PASSWORD"

// ThingSpeak information.
#define IMAGE_CHANNEL_ID "YOUR_THINGSPEAK_IMAGE_CHANNEL_ID"
#define IMAGE_CHANNEL_API_KEY "YOUR_THINGSPEAK_IMAGE_CHANNEL_API_KEY"

#define THINGSPEAK_ADDRESS "data.thingspeak.com"

#define RESPONSE_TIMEOUT 5000
#define MAX_BLOCK_SIZE 16384
#define SNAPSHOT_PERIOD 50000

WiFiClientSecure client = NULL;
unsigned long previousSnapshotTime = 0;
bool cameraAvailable = false;
2) Connect to the local wi-fi network.
void connectWifi()
{
    while (WiFi.status() != WL_CONNECTED) {
        WiFi.begin( WIFI_SSID, WIFI_PASSWORD );
        Serial.println( "Connecting to Wi-Fi" );
        delay( 5000 );
    }
    // Skip checking of server certs.
    client.setInsecure();
    Serial.println( "WiFi Connected" );
}
3) Initialize the camera.
bool initCamera() {
  static camera_config_t config  = {
    .pin_pwdn = PWDN,
    .pin_reset = RESET,
    .pin_xclk = XCLK,
    .pin_sscb_sda = SIOD,
    .pin_sscb_scl = SIOC,
    .pin_d7 = Y9,
    .pin_d6 = Y8,
    .pin_d5 = Y7,
    .pin_d4 = Y6,
    .pin_d3 = Y5,
    .pin_d2 = Y4,
    .pin_d1 = Y3,
    .pin_d0 = Y2,
    .pin_vsync = VSYNC,
    .pin_href = HREF,
    .pin_pclk = PCLK,
    .xclk_freq_hz = 20000000,
    .ledc_timer = LEDC_TIMER_0,
    .ledc_channel = LEDC_CHANNEL_0,
    .pixel_format = PIXFORMAT_JPEG,
    .frame_size = FRAMESIZE_QSXGA,
    .jpeg_quality = 10,
    .fb_count = 1,
  };

  if (esp_camera_init(&config) != ESP_OK) {
    Serial.println("Camera initialization failed");
    return false;
  }

  sensor_t * s = esp_camera_sensor_get();
  s->set_brightness(s, 0); // -2 to 2
  s->set_contrast(s, 2); // -2 to 2
  s->set_saturation(s, -2); // -2 to 2
  s->set_whitebal(s, 1); // 0 = disable , 1 = enable
  s->set_awb_gain(s, 1); // 0 = disable , 1 = enable
  s->set_wb_mode(s, 0); // 0 to 4 - if awb_gain enabled (0 - Auto, 1 - Sunny, 2 - Cloudy, 3 - Office, 4 - Home)
  s->set_exposure_ctrl(s, 1); // 0 = disable , 1 = enable
  s->set_aec2(s, 1); // 0 = disable , 1 = enable
  s->set_gain_ctrl(s, 0); // 0 = disable , 1 = enable
  s->set_agc_gain(s, 0); // 0 to 30
  s->set_gainceiling(s, (gainceiling_t)6); // 0 to 6
  s->set_bpc(s, 1); // 0 = disable , 1 = enable
  s->set_wpc(s, 1); // 0 = disable , 1 = enable
  s->set_raw_gma(s, 1); // 0 = disable , 1 = enable (makes much lighter and noisy)
  s->set_lenc(s, 1); // 0 = disable , 1 = enable
  s->set_hmirror(s, 0); // 0 = disable , 1 = enable
  s->set_vflip(s, 0); // 0 = disable , 1 = enable
  s->set_dcw(s, 0); // 0 = disable , 1 = enable
  return true;
}
4) Print the response from the ThingSpeak server to serial port.
void printResponse(){

  unsigned long startTime = millis();
  // Wait a few hundred milliseconds for server to process the request
  delay( 100 );
  while ( client.available() < 1 && (( millis() - startTime ) < RESPONSE_TIMEOUT ) ){
    delay( 10 );
  }

  // Read server response and print it to serial port
  if( client.available() > 0 ){
    do {
      Serial.write(client.read());
    } while ( client.available() > 0 );
    Serial.println(' ');
  }
}
5) Take a picture and send the image to the ThingSpeak channel indicated above. Echo each client print to the serial monitor for debugging.
bool snapshotToThingSpeak() {
  bool result = false;
  // Only send image to ThingSpeak if sufficient time has passed since previous send.
  if ( cameraAvailable && ( millis() > previousSnapshotTime + SNAPSHOT_PERIOD) ) {
    // Capture a new image from the camera.
    camera_fb_t *frame = esp_camera_fb_get();
    if (!frame) return result;
    // Connect to ThingSpeak and send image
    // Echo client commands to serial port for debugging
    if (client.connect(THINGSPEAK_ADDRESS, 443)) {
      Serial.println("Writing image to ThingSpeak");
      client.print( "POST /channels/");
      Serial.print( "POST /channels/");
      client.print( IMAGE_CHANNEL_ID );
      Serial.print( IMAGE_CHANNEL_ID );
      client.println( "/images HTTP/1.1" );
      Serial.print( IMAGE_CHANNEL_ID );
      client.println( "Connection: close" );
      Serial.println( "Connection: close" );
      client.print( "Host: " );
      Serial.print( "Host: " );
      client.println(THINGSPEAK_ADDRESS);
      Serial.println(THINGSPEAK_ADDRESS);
      client.print( "Thingspeak-image-channel-api-key: ");
      Serial.print( "Thingspeak-image-channel-api-key: ");
      client.println( IMAGE_CHANNEL_API_KEY );
      Serial.println( IMAGE_CHANNEL_API_KEY );
      client.println( "Content-Type: image/jpeg" );
      Serial.println( "Content-Type: image/jpeg" );
      client.print( "Content-Length: ");
      Serial.print( "Content-Length: ");
      client.println(frame->len);
      Serial.println(frame->len);
      client.println(  );
      Serial.println(  );
      uint8_t *fbBuf = frame->buf;
      long int fbLen = frame->len;
      do {
        client.write(fbBuf, ( (fbLen > MAX_BLOCK_SIZE) ? MAX_BLOCK_SIZE : fbLen) );
        fbLen -= MAX_BLOCK_SIZE;
        fbBuf += MAX_BLOCK_SIZE;
      } while (fbLen > 0);
      client.flush();
      // Print out server response to serial port.
      printResponse();
      client.stop();
      result = true;
    } else {
      Serial.print("Unable to connect to ");
      Serial.println(THINGSPEAK_ADDRESS);
    }
    // Update the stored time when the last image was written.
    previousSnapshotTime = millis();
    // Free the memory buffer for the image so we don't leak memory and segmentation fault.
    esp_camera_fb_return(frame);
    return result;
  }
}
6) Run initialization routines.
void setup() {
   // Open serial port for printing debug messages.
   Serial.begin( 115200 );

   // Connect to WiFi
   connectWifi();

   // Initialize the camera
   if (initCamera()){
    Serial.println("Camera initialized");
    cameraAvailable = true;
   }
}
7) Continuously loop and send an image to ThingSpeak.
void loop() {
// If the connection is lost, reconnect.
  if (WiFi.status() != WL_CONNECTED) {
    connectWifi();
  }
  snapshotToThingSpeak();
  delay(30);
}
Write the Image
Run the code while monitoring the Image Display widget in your page view.