Camera Control in RoadRunner
RoadRunner enables you to edit large-scale and small-scale details of a 3D environment that can span many kilometers or miles. The interactive camera controls enable you to navigate this large 3D space quickly and effectively. This example shows you the fundamentals of camera controls in the RoadRunner scene editing environment.
Open Scene
Open a basic scene to move the camera around in. From the menu bar, select
File, then Open Scene. Then, open
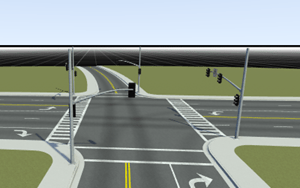
FourWaySignal.rrscene, which is one of the default scenes that is
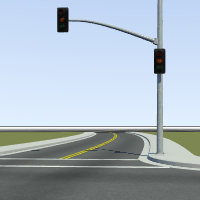
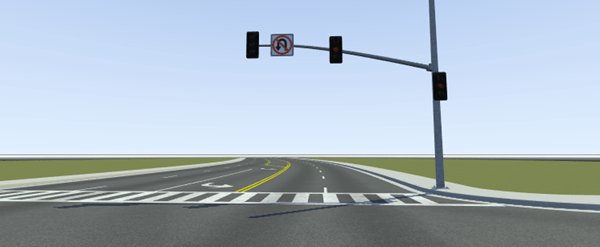
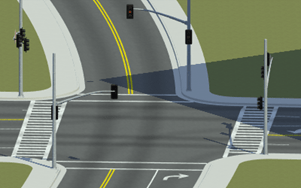
included in the Scenes folder of RoadRunner projects. The scene opens top-down in the center of the screen, inclined at
an angle of 45 degrees.
Rotate Camera
Camera control in RoadRunner is based on a polar viewing model, where the camera orbits around a point of interest at a fixed distance. By default, when you open a new scene, the point of interest is 1.5 meters above the origin, to approximate the position of the head of a person standing at the center of your scene. The point of interest for this scene is at the center of the intersection.
You can rotate the camera around the point of interest at any time and from within any tool by pressing and holding either the Alt key or the Windows key and moving the pointer.
Note
In Linux®, Ubuntu® 16.04, pressing the Alt key moves the current window and pressing the Windows key shows certain help overlays. To use the Windows key instead of the Alt key for moving windows, update Ubuntu 16.04 according to the instructions in Update Linux Ubuntu Key Mapping.
Hold the Alt key, click anywhere in the scene, and drag the pointer. Observe the change in camera rotation with respect to the point of interest.
Zoom Camera In and Out
To zoom the camera in, hold Alt and the right-click button, and then drag the pointer up or right. Conversely, to zoom the camera out, hold Alt and the right-click button, and then drag the pointer down or left. Alternatively, you can use the mouse scroll wheel to zoom in or out.
Hold Alt and the right-click button, and then drag the pointer down to zoom out. Observe the change in the fixed distance at which the camera orbits the scene.
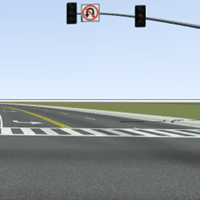
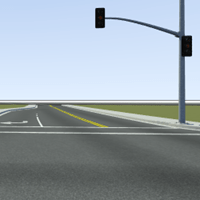
While still holding Alt and the right-click button, drag the pointer up and zoom all the way in to the point of interest until the camera stops moving. Zooming in this far focuses the camera at the pavement.
Hold Alt and the left-click button to rotate the camera. The camera movement at this distance is similar to standing at a fixed location and looking around as the camera orbits the scene.
Push Past Behavior
Push past behavior enables you to scroll past the pivot point, when the pivot point is right in front of the camera. Scrolling past the pivot point allows you to reach the desired location in the scene without being blocked. Once you push past the pivot point, the pivot point is maintained in the new position in the scene.
Move Camera Horizontally
To move the camera horizontally along the ground (xy) plane, first hold the Alt key and the left-click and right-click buttons. Then, drag the pointer. Alternatively, you can move the camera by holding the middle-click button and dragging the pointer.
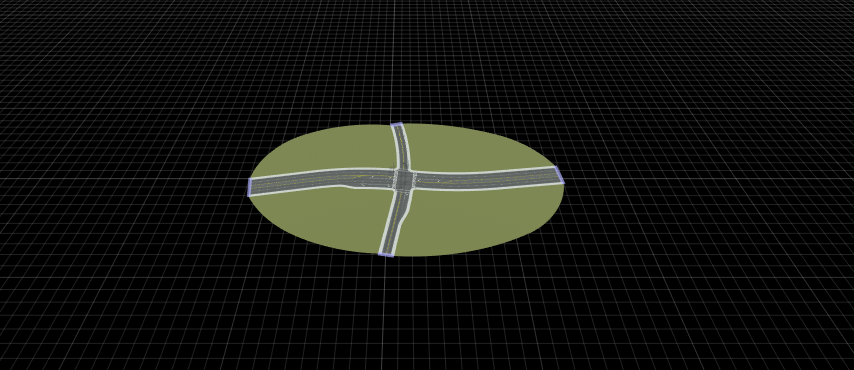
Hold Alt, the left-click button, and the right-click button, and then drag the pointer to move the camera to the left and right. The point of interest shifts to the new location.
| Move Camera Left (Drag Left) | Original Location | Move Camera Right (Drag Right) |
|---|---|---|
|
|
|
|


Move Camera Vertically
For simple environments, you can keep the height of the camera point of interest set to the default. However, for more complex environments, you might need to move the point of interest up or down. For example, if you are designing a scene with bridges, you might need to move the point of interest down so that you can maneuver the camera under a bridge.
To move the camera up, hold Alt, Shift, left-click, and right-click, and then drag the pointer down. Conversely, to move the camera down, hold these same keys and buttons, and then drag the pointer up. Alternatively, you can hold Alt, Shift, and the middle-click button and then drag the pointer up or down for the same affect.
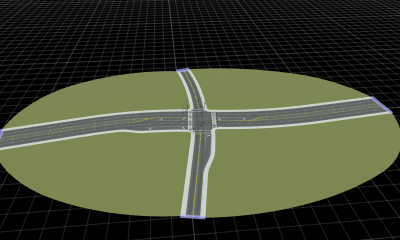
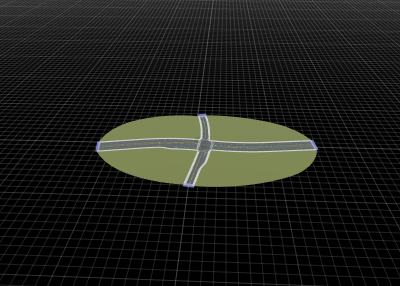
Hold Alt, Shift, left-click and right-click, and then drag the pointer up and down. Observe the change in the point of interest as the camera moves up and down.
| Move Camera Up (Drag Down) |
|---|
|
|
| Original Location |
|---|
|
|
| Move Camera Down (Drag Up) |
|---|
|
|

Frame Camera on Selected Object
From within any tool, you can center, or frame, the camera on the currently selected objects. To center the camera on a selected object, press the F key. Alternatively, from the View menu, select Frame Selected.
Zoom out of the scene. Hold Alt and the right-click button, and then drag the pointer down.
Click the Road Plan Tool button
 to make the roads selectable.
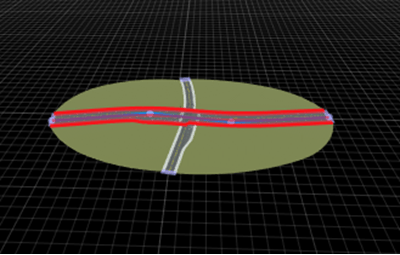
Select the longer road and press the F key. The camera centers on the longer road.
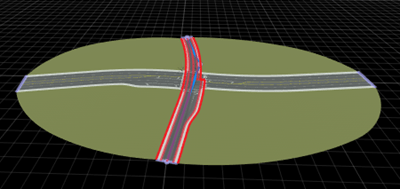
Select the other road and press F. The camera zooms in to center on the shorter road.
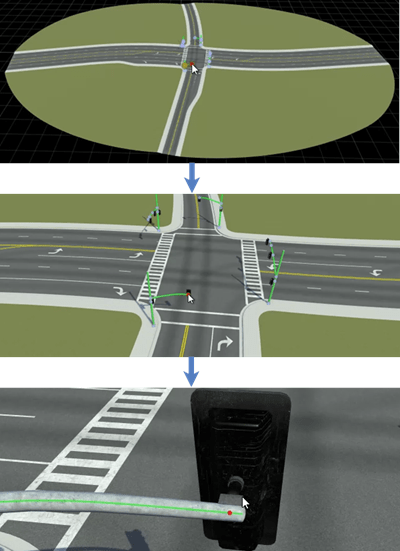
Click the Prop Point Tool button
 to make the traffic light props selectable.
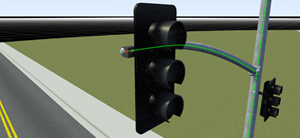
Select one of the prop points and press F. The camera zooms in on the selected prop.
When you rotate the camera by holding Alt and then clicking and dragging, the camera rotates around the prop.
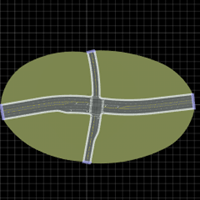
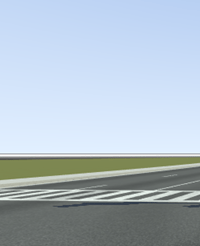
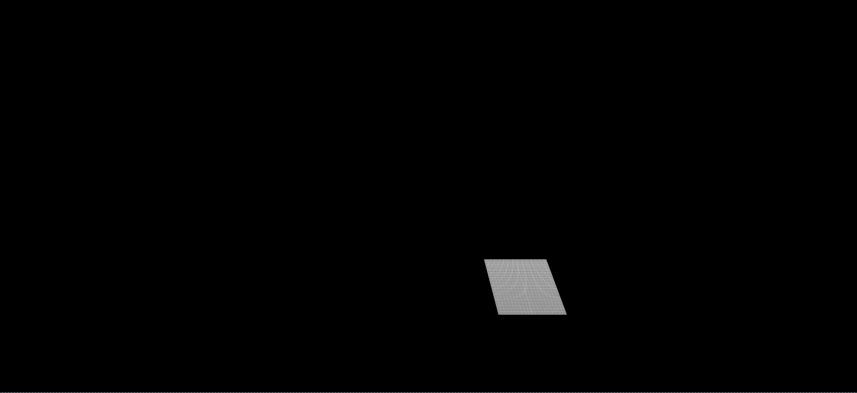
If no view or object is selected, pressing the F key or selecting Frame Selected from the View menu, frames all of the data in the scene, preserving the camera angle position. For example, in this image, the scene is located at one end of the editing canvas. Clicking Frame Selected without selecting any view or object, brings the scene data back into focus.

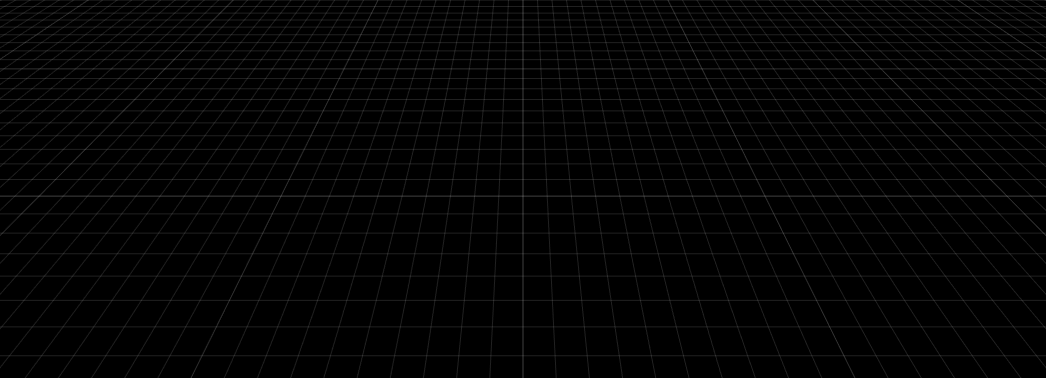
If the scene is empty, pressing the F key or selecting Frame Selected, takes you back to the origin point in the scene editing canvas.
Frame Camera on Cursor
You can center, or frame, the camera to the point where your cursor is currently located. To center the camera on a cursor, follow these steps:
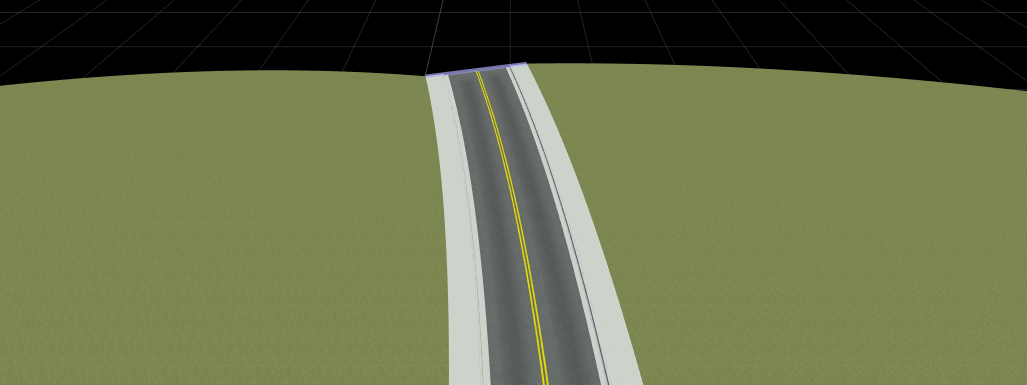
Zoom out of the scene. Hover your cursor at one end of the road.
Press V. The camera zooms in to end of the road.
Change View Projections
The RoadRunner camera can use either a perspective or orthographic viewing projection.
The perspective projection is the default viewing projection, which causes distant objects to appear smaller than close objects.
The orthographic projection is similar to what you might find in a CAD tool. It is useful for precise positioning, usually from a top-down point of view. In orthographic mode, objects do not change apparent size as they get closer or further away.
The camera controls work the same in both projection modes.
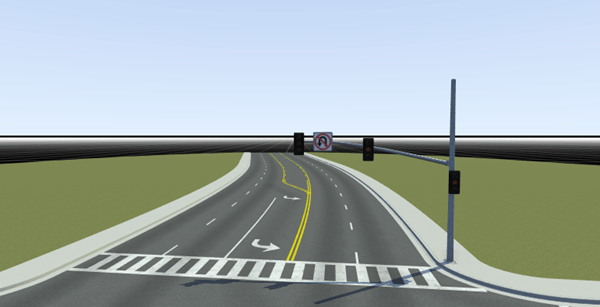
Move the camera so that the entire intersection is in view. Then, press O to switch to orthographic mode. In this mode, the traffic lights are all the same size. To zoom in to a specific location in the orthographic mode, hover your cursor over the location and scroll in. This takes you to the desired location.
Press P to switch back to perspective mode, where the traffic lights in the distance appear smaller.
| Orthographic Mode (Press O) | Perspective Mode (Press P) |
|---|---|
|
|
|
Set View Direction of Camera
You can set the view direction of the camera to due north, south, east, west, or top-down. To change the view direction, on the View menu, select Direction, and then the select the view direction you want. Alternatively, you can use number pad shortcut keys.
Change the view direction of the scene by using these keys on the number pad. This table shows sample view directions when the camera is at the intersection of the scene and their corresponding number pad shortcut keys. In the top-down view, the camera also rotates to point north.
North (8 key)
| ||
West (4 key)
| Top-Down (5 key)
| East (6 key)
|
South (2 key)
|