Migrating Requirements Management Interface Data to Requirements Toolbox
This example demonstrates the basic steps to update Requirements Management Interface (RMI) links to the format used by the Requirements Editor, and the Requirements Browser in the model canvas. Legacy RMI data consists of traceability link information, stored in a separate .req file, or embedded in a Simulink® model.
With Requirements Toolbox™, you can view requirements and links in the model canvas, while preserving existing links from your design elements to external documents. Additionally, you can create requirements, and establish relationships between requirements, model entities, and test cases.
This example uses Windows®.
Workflow
In this example:
You start with a model that has links to requirements in external documents.
You create a new requirement set.
You import the requirements from the external documents, creating requirements in the set that reference the external documents.
You update the model link destinations to the imported requirements.
Create a Requirement Set
Open the Requirements Editor.
slreq.editor
Create a new requirement set:
In the Requirements Editor toolstrip, click New Requirement Set.
Enter a filename, such as
FuelSysRequirements. Save the requirement set.
Import Requirements from External Documents
FuelSysRequirements is the requirements set. The requirements reference the content in the external documents:
FuelSysDesignDescription.docxFuelSysRequirementsSpecification.docxFuelSysTestScenarios.xlsx
1. To import, right-click FuelSysRequirements in the Index and select Import As Read-only References.
2. In the Importing Requirements dialog box, select Microsoft Word Document for the Document type.
3. For Document location, browse for the FuelSysDesignDescription.docx file in the working folder. If the file is already open, you can select it from the drop-down list.
4. Select options:
Select Rich text (include graphics and tables).
Select Use bookmarks to identify items and serve as custom IDs. This preserves links to existing document bookmarks in the new requirement set.

4. Click Import. The new requirement set appears in the Requirements Editor.
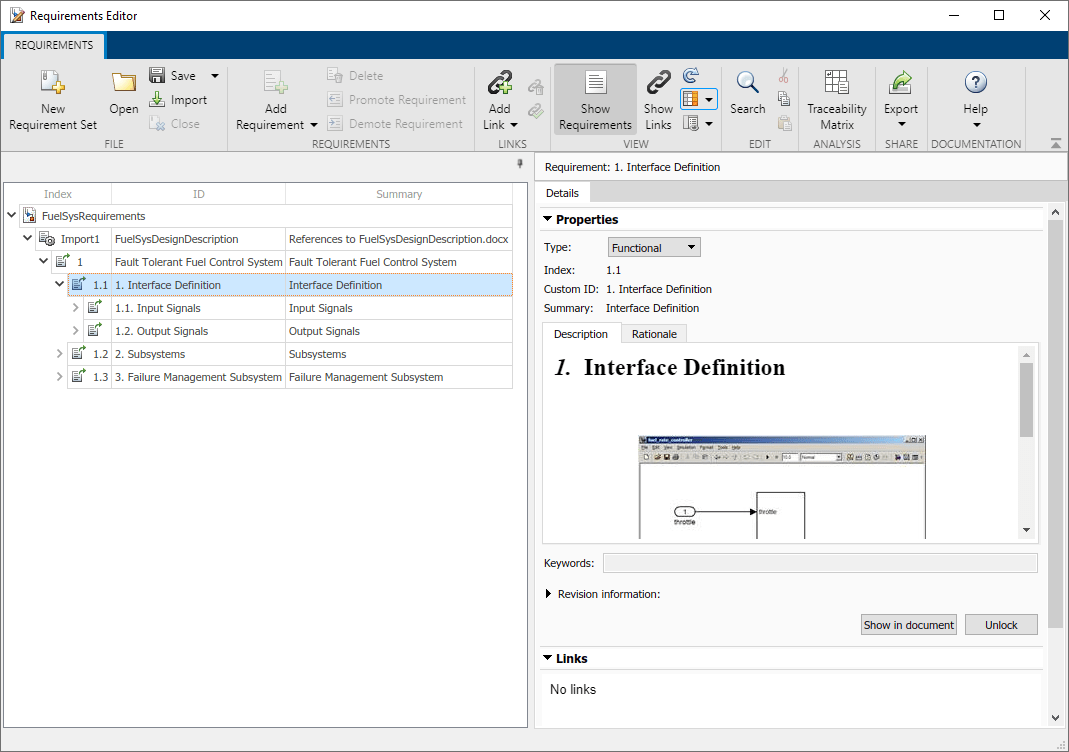
5. You can navigate to the document. In the Properties pane, click Show in document.

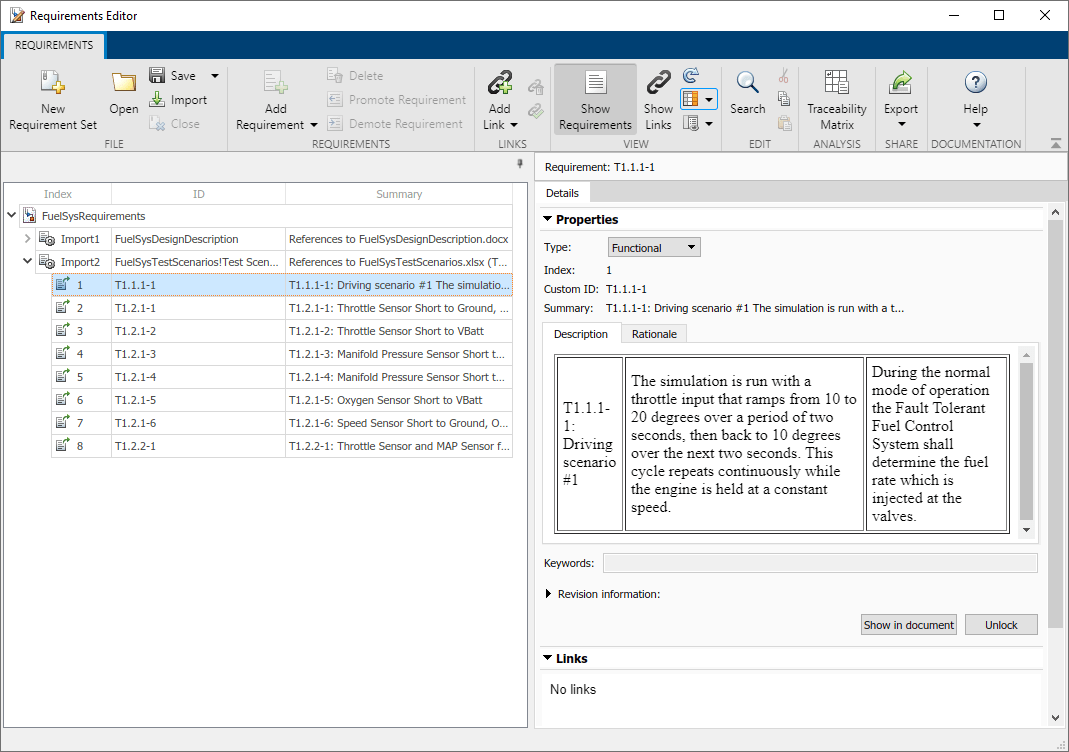
Now, import requirements from a Microsoft® Excel® document. When importing from Excel, you specify which columns to import. You can map the columns to either Summary, Keywords, or Custom Attribute fields in the imported data. You can also locate specific ranges in tables by specifying a regular expression pattern of requirements identifiers.
1. Open the FuelSysTestScenarios.xlsx file from the working folder.

2. In the Requirements Editor, right-click FuelSysRequirements in the Index and select Import As Read-only References.
3. Configure the import settings as shown.

4. Click Import. A new top-level node contains references to the test scenario items in the Excel document.
Repeat the import process for the file FuelSysRequirementsSpecification.docx.
Update Model Link Destinations
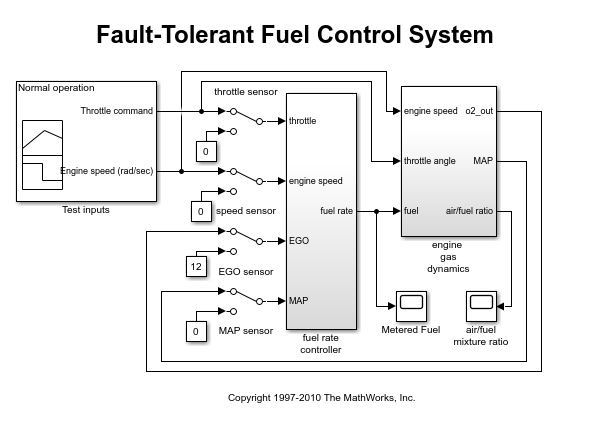
Update the model link destinations to the imported requirements. Open the FuelSysWithReqLinks model from the working folder.
open_system("FuelSysWithReqLinks.slx")Enable the Requirements Perspective in the model. Click the icon at the lower-right of the model canvas and click the Requirements icon. The FuelSysRequirements set appears in the Requirements browser. Right-click the FuelSysRequirements line item and select Redirect Links to Imported References.

Update Requirements that Reference External Documents
If you change the requirement content in the external document, update the Requirement Set to reflect the latest version:
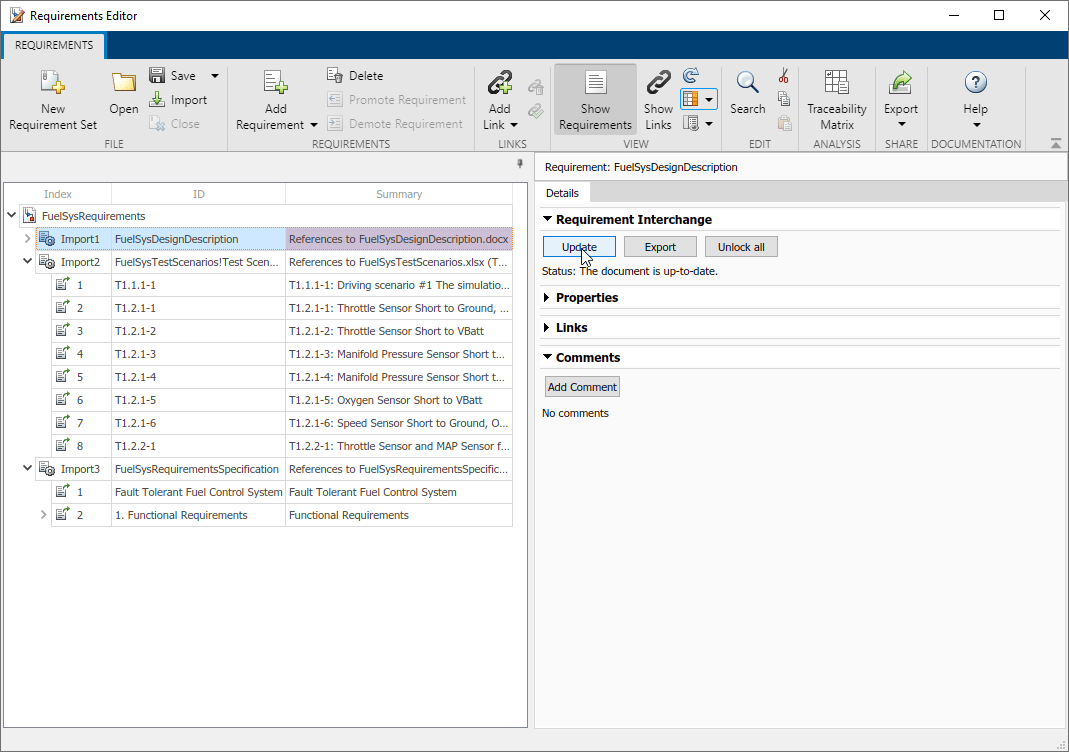
1. Select the top-level Import node in the Requirements Editor.
2. In the right pane, under Requirement Interchange, click the Update button.
Review the Imported References
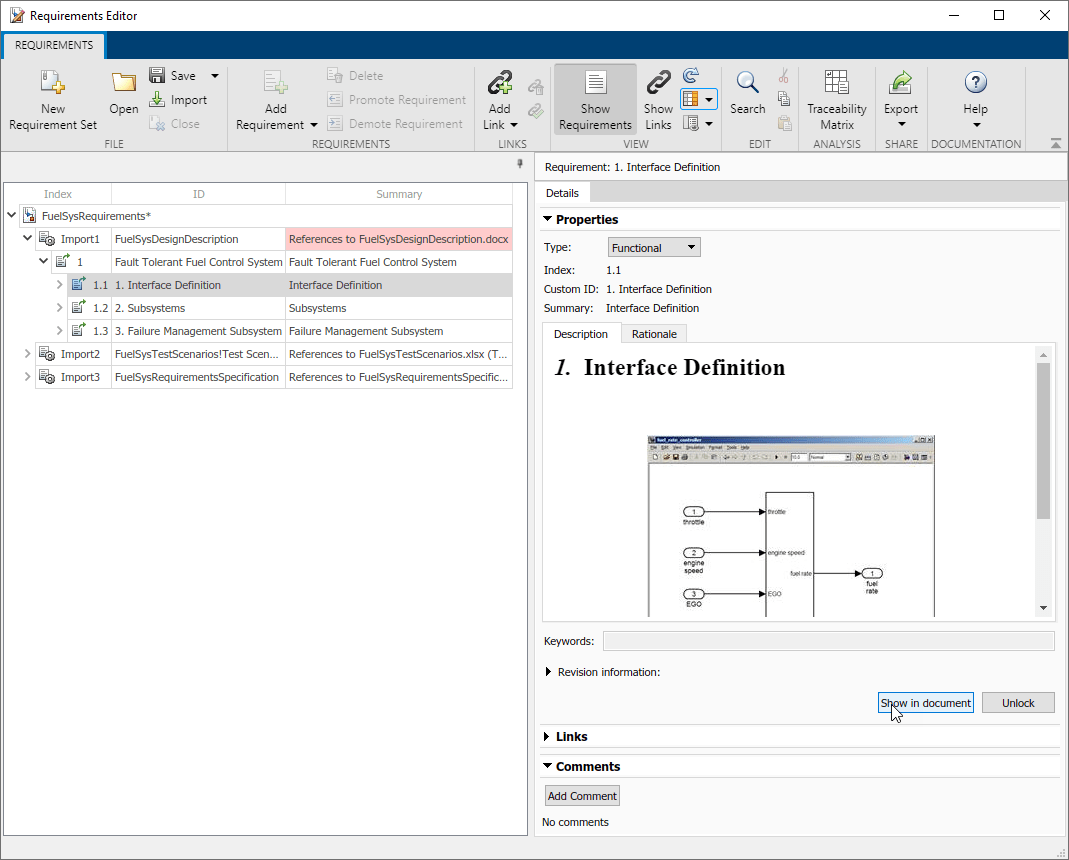
Importing the three documents creates three top-level nodes in the left pane of Requirements Editor. Save the requirement set.
Expand the sub-trees and click on individual items to review the imported contents. Click the Show in document button for navigation to corresponding location in the original external document.
Load a Model with Links to Imported Documents
In this step, you load a model with existing links to imported documents. If you have models with RMI data in the Simulink® Verification and Validation™ format, opening those models with an available Requirements Toolbox license prompts you save the requirements data in the updated Requirements Toolbox format.
Clicking Save now creates a Link Set .slmx file.
In this example, open the FuelSysWithReqLinks.slx model in the working folder. In the notification bar at the top of the canvas, click the Save now link to create a Link Set file FuelSysWithReqLinks.slmx.
To highlight blocks with requirement links, in the Requirements Viewer tab, click the Highlight Links button.

To show the linked requirement, open the Requirements Manager tab and select a block.

If the Requirements Editor is open, the reference item is highlighted. You can review the contents of the requirement in the right pane.

The incoming link is displayed in the Links pane. With Requirements Toolbox, you do not need to insert navigation controls into Word and Excel documents to know where the links are. You can find the links in Requirements Editor.
A Requirements Toolbox license is needed to use the Requirements Editor. When corresponding references are not loaded in Requirements Editor, navigation will bring you to the original content in the external document, as in previous versions.
