Check for Compatibility Issues and Upgrade Simulink Models Using Project Upgrade
This example shows how to upgrade all the models and check for compatibility issues in a project using the Project Upgrade tool.
Open the example to download the example project.

Open Project Upgrade Tool
On the Project tab, in the Tools gallery, click Upgrade Project. The tool runs a dependency analysis on your project before opening the interface and notifies you of any missing files in your project.

Run Upgrade Checks
To run all upgrade checks on all Simulink® models and libraries, and on MATLAB® code in your project, click Upgrade.
For Simulink models and libraries, the tool applies fixes and automatically upgrades the model files to the current MATLAB release.
For MATLAB files, the tool checks only for compatibility issues with the current MATLAB release.
If you want to run the upgrade checks without applying fixes automatically, select Upgrade > Analyze instead. The tool runs the checks and suggests fixes.
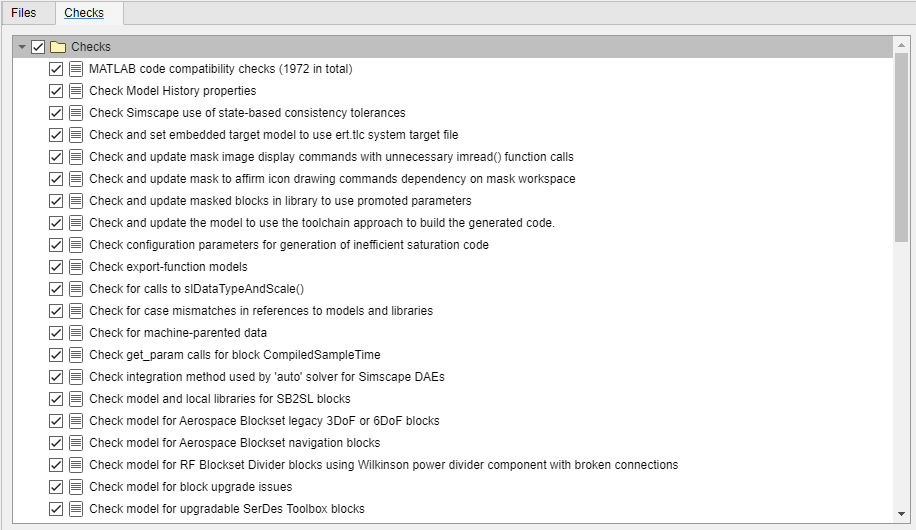
By default, the Project Upgrade tool runs all upgrade checks on all files in your project. If you want to specify which files to upgrade and which checks to run, adjust the selection in the Files and Checks tabs. The tool notifies you if your file selection does not include all required dependencies.
Understand Upgrade Results
After running the checks, the Project Upgrade tool returns the upgrade analysis results in a report. The report summarizes how many checks have the status of Passed, Passed with fixes, or Need attention. By default, the Files pane shows any files with the status Need attention or Passed with fixes. To see the upgrade results for all files, select All files and All results instead.
To fix and rerun the checks with the status Need attention, if any, follow these steps.
1. In the Details pane, examine the recommended fix.
2. After applying the fix, rerun the check by selecting the check and clicking Rerun Checks.
To understand the upgrade results and applied fixes, follow these steps.
1. Inspect the details of a specific check that ran on a specific file. Select the file in the Files pane and the check in the Check Name column. Then, inspect the details in the Details pane.
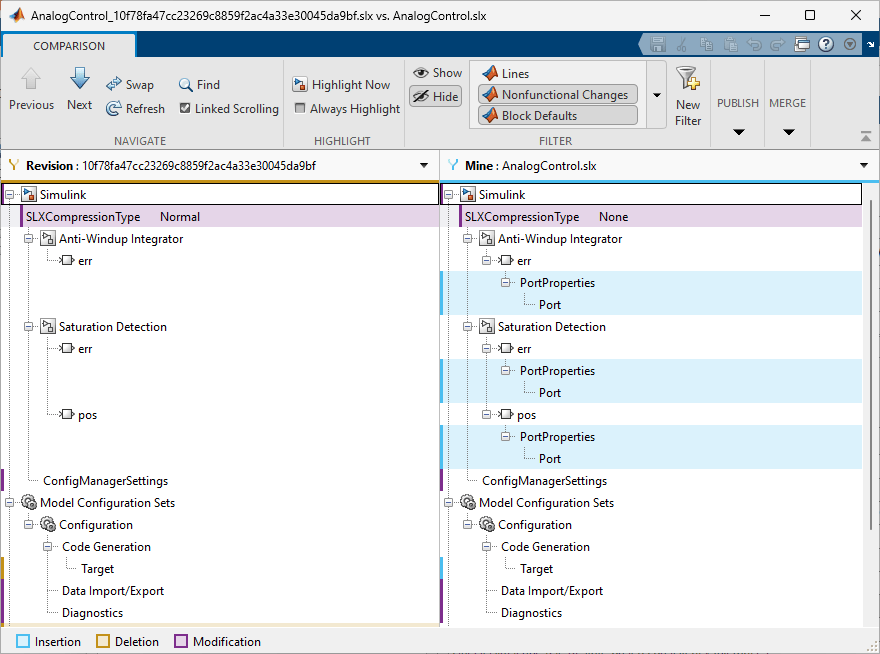
In this example report, the Project Upgrade tool applied a fix for the AnalogControl.slx file by turning off the file compression. The tool ran the Turn off SLX file compression check again to ensure the file passed after the fix.

2. If your project is under source control, you can examine the fixes that the Project Upgrade tool applied. To see the differences before and after the upgrade, select a file and click View Changes. A comparison report opens.
Upgrade Libraries
The project automatically runs all upgrade checks on multiple libraries, including any checks that require an update diagram operation.
You cannot run checks that require an update diagram operation on the library itself. Instead, the Project Upgrade tool runs the update diagram checks on the models that use the library blocks. For used library blocks, the Project Upgrade tool automatically runs all checks, including update diagram checks, and then upgrades the block in the library.
If a library block is not used in any project model, then the check Run checks that require Update Diagram on library blocks is marked as needing attention. Select the check. The Details pane shows an Unable to upgrade blocks unused by a model message.
To upgrade unused library blocks, temporarily use the blocks in a model and then upgrade.
If you want to upgrade library blocks that use forwarding tables, disable the library link and save the model before upgrading. Then, upgrade the saved model and restore the link.
The same library block can be used in multiple models. Linked library blocks inherit attributes from the surrounding models, such as data types and sample rate. Block behavior can differ depending on the context in which they are used, which can lead to conflicting upgrades for update diagram checks.
If different models require different upgrades for the same library block, examine the Details pane of the selected check. To review and choose which upgrades to save, click Open Three Way Merge.
Save Upgrade Report
To save the upgrade results in an HTML report, in the Project Upgrade toolstrip, click Save Report.